
Guide 2 · drawings
Issue a plan without CAD
Open this example in Plotlay → The same project, ready to explore. Nothing to install.
Most plans a facilities, property or estimating team needs are simple: outlines, areas, a few dimensions, a title block. Plotlay makes them from what is on the map, with no CAD licence and no CAD training.
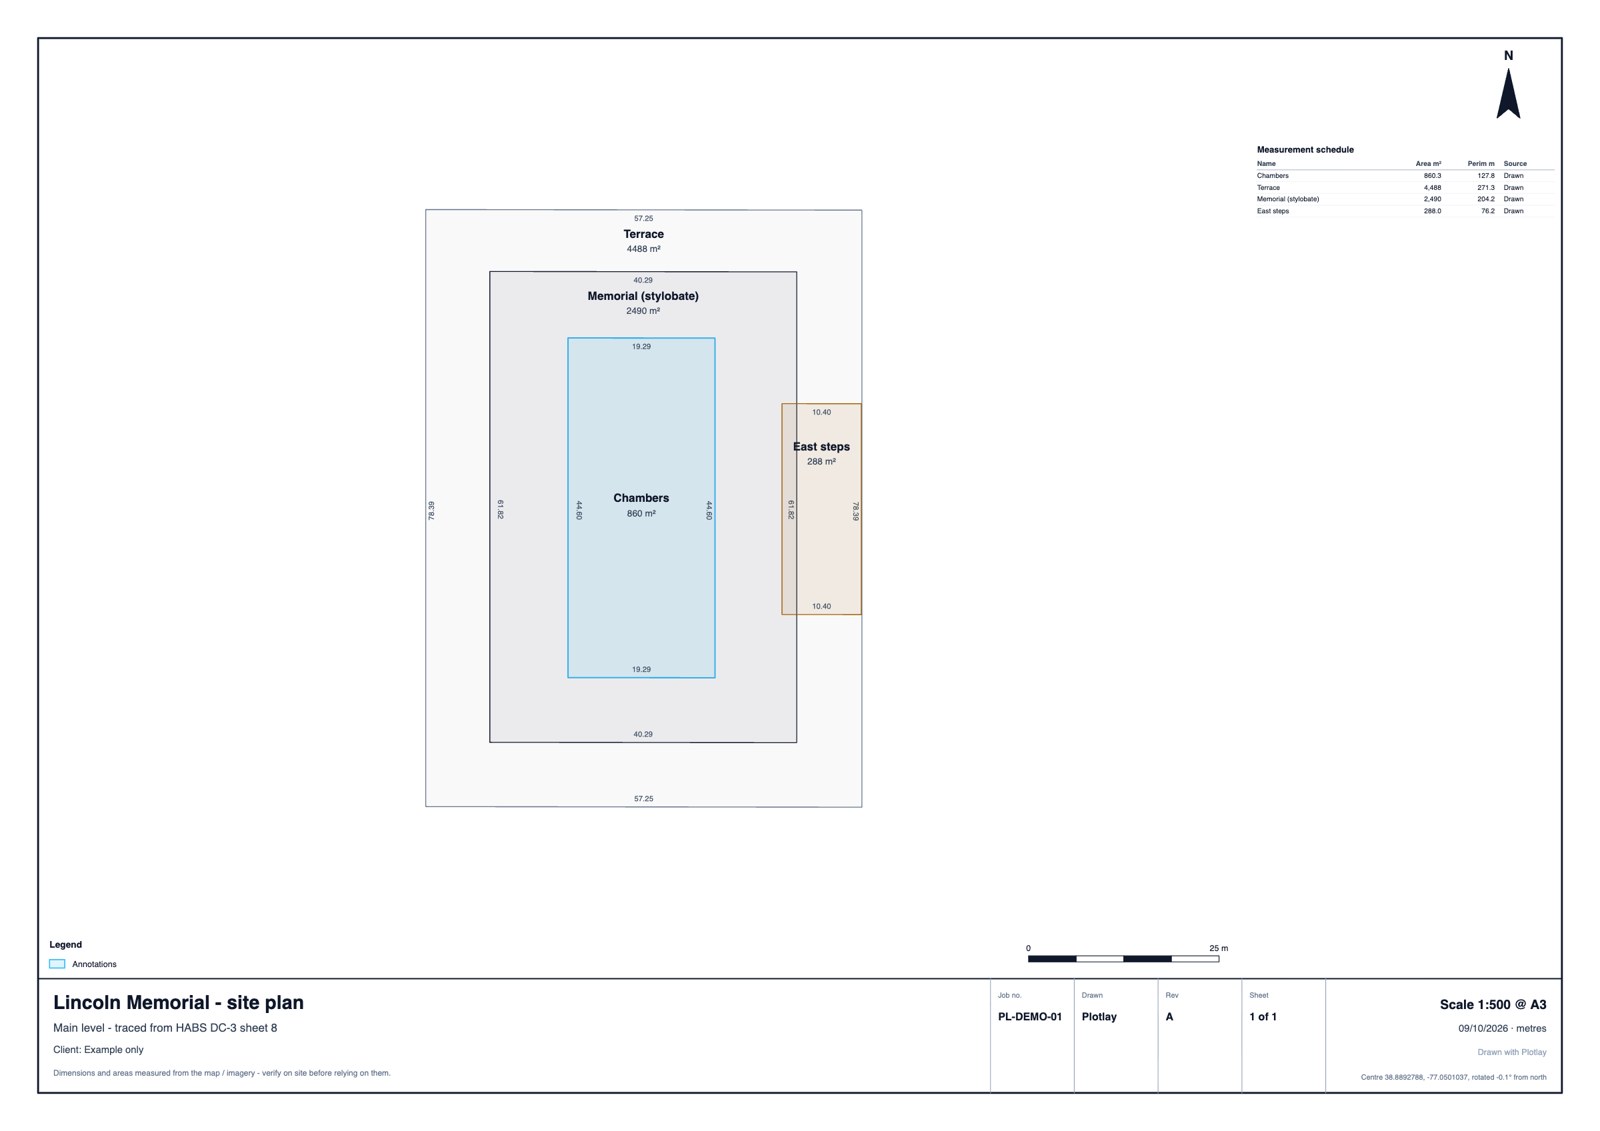
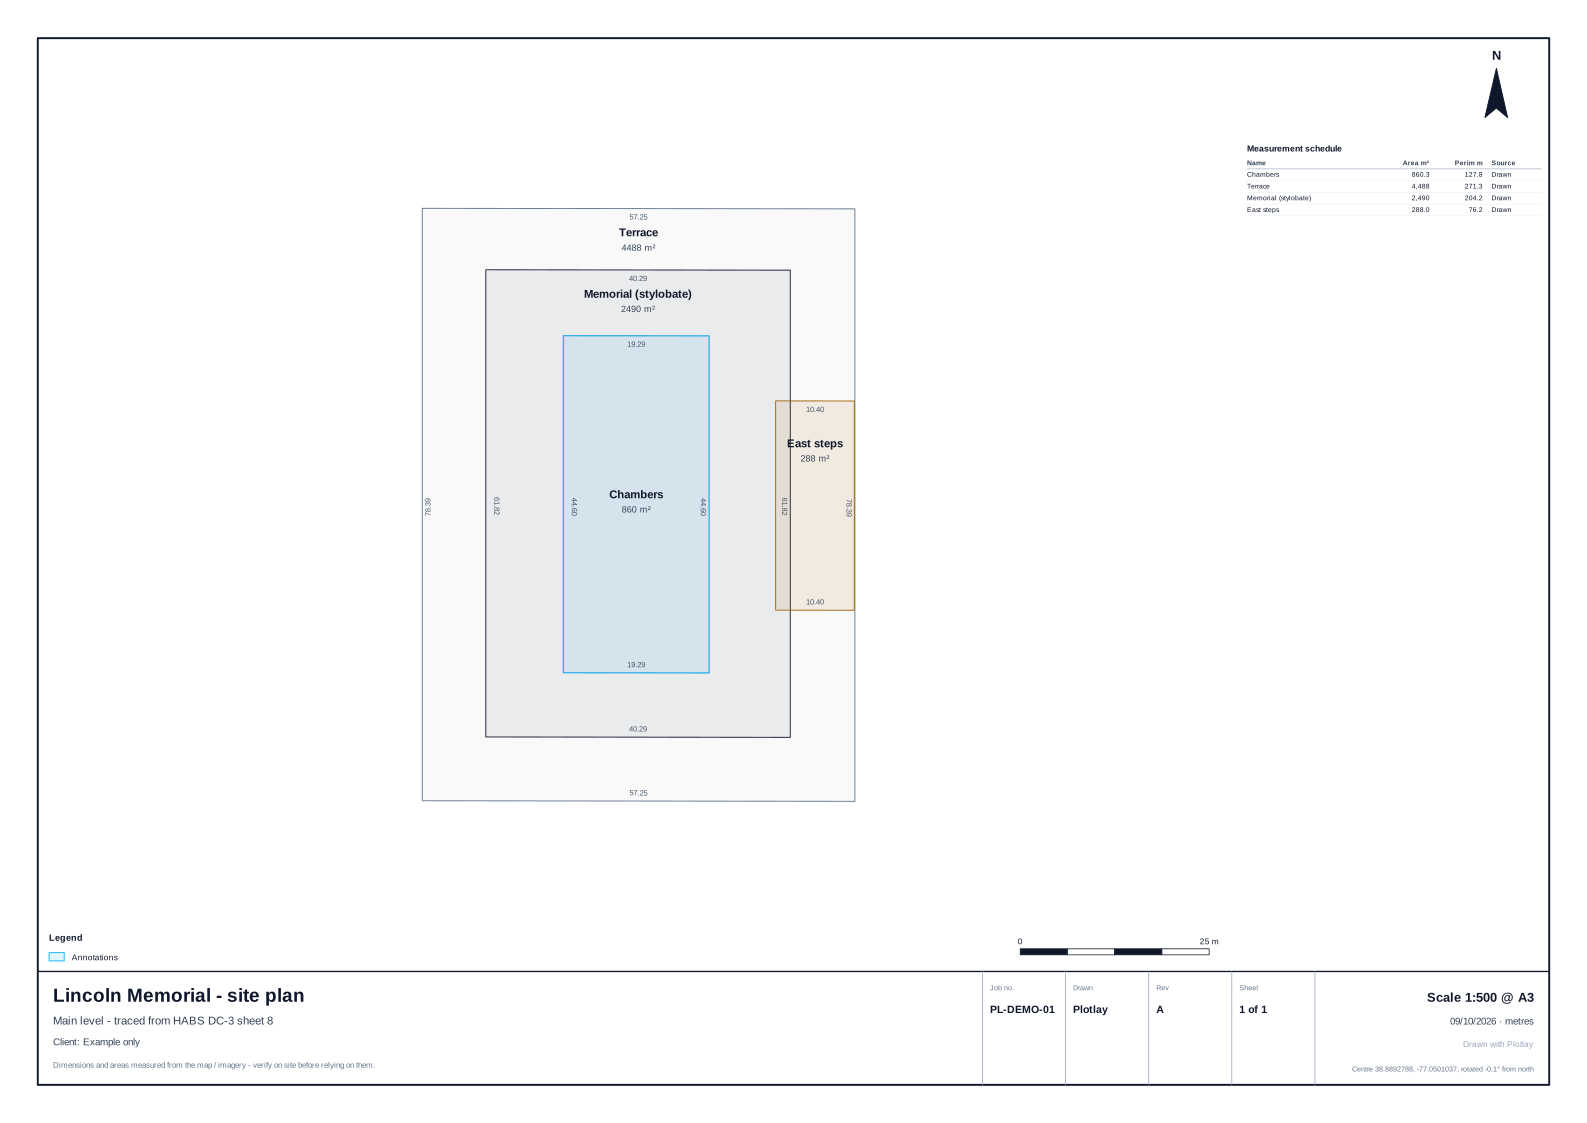
Steps
- Have something to trace. A pinned drawing (see guide 1) or just the aerial.
- Trace the outlines. Add → Area or room, then click each corner. On a drawing, the magic wand traces a room in one click. Name each shape: the name prints on the sheet and in the schedule.
- Check the numbers. Every shape shows its area and wall lengths as you draw. Here: terrace 4,488 m², memorial base 2,491 m², chambers 860 m², east steps 288 m².
- Fill in the title block. Export → Plan → Title block & logo: drawing title, client, job number, drawn and checked by, revision and sheet, plus your logo on Pro.
- Issue it. Choose paper (A4–A1) and scale (1:20–1:5000, or automatic) and download a vector PDF. For a drafter, the same plan as DXF in millimetres, metres or MGA/UTM grid.
What goes on the sheet
| Element | Notes |
|---|---|
| Dimensions | Every edge longer than 7 mm on paper; figures that would print over each other are dropped. |
| Areas and labels | Placed so nested shapes don't collide. The outer shape's label moves to a free band inside it. |
| Measurement schedule | Name, area, perimeter and source (drawn, traced, template or GPS with ±). |
| GPS setting-out table | Optional: numbered corners with latitude/longitude and easting/northing. |
| North arrow, scale bar, legend | Plan can be aligned to north or squared to the building. |
| Level | On multi-storey projects, the sheet shows the current level and its name goes in the subtitle. |
Plotlay plans are for planning, facilities and estimating. They are not a licensed survey, and the sheet says so.